Selecting Fonts
By default, the Design Studio selects a font installed on your system that is compatible with the active language, but you can change this at any time while developing your survey.
Go to Options|Font from the main menu to view the active font or to select a new font for List View and Translation Text from the Fonts dialog box.
Tip: For all input fields where the text is the same for all languages (such as variable name and variable label) the Design Studio uses the default operating system font.
List View Font
The Fonts dialog box displays the active List View font which is used for listing elements, printing elements, validation errors, variable names in Codebook document, and changes listed in Change History report.

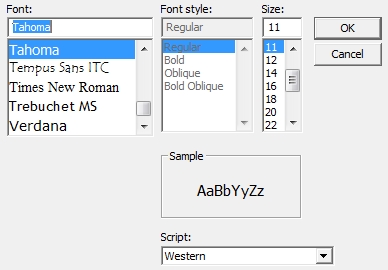
Selecting the corresponding Change button(s) opens the Font box where you can change font type, size, and script.
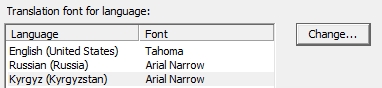
Translation Font for Language
This font is used for all fields where you supply unique text for each language in the questionnaire. For example, it is used for text in the data element’s Text of Question field and Description field for responses.
As with List View Font, select the corresponding Change button to specify font name, size, and script.
Font Script
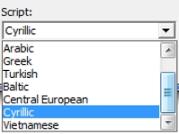
By default, QDS selects an appropriate script for each language in the survey. For example, ‘Western’ script is associated with English, ‘Central European’ with Polish, ‘Japanese’ with Japanese’ language, and ‘Cyrillic’ with Russian.
In the Script drop-down box, confirm that the correct script is chosen for each interview language. Using the correct font script for a given language insures that QDS displays the correct characters in all “Rich Text” input fields. The Rich Text fields in QDS allow you to format text using Bold, Italic, and Underline commands.
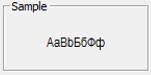
The Sample box displays the font in the currently selected script.